
How to tape your nose after Rhinoplasty plays an important role in recovery. It helps reduce swelling, supports the new nose structure, and promotes natural-looking results. In this article, we will explore why nose taping is necessary, provide a step-by-step guide, and highlight common mistakes to avoid, so you can feel more confident in your beauty journey.
Why do you need to tape your nose after Rhinoplasty?
Taping the nose after Rhinoplasty is an important step to support healing and achieve the best aesthetic results. But why is this step so important? Here are the key reasons why you should pay attention to how to tape nose after Rhinoplasty:
- Reduce swelling and edema: Rhinoplasty often causes swelling due to tissue trauma. Taping applies gentle pressure, helping control edema, limit fluid buildup, and support the healing process.
- Stabilize nose structure: Taping helps keep the newly shaped cartilage and bone in place, preventing displacement during the early healing stage when tissues are still soft and vulnerable.
- Support skin adherence to the underlying structure: After surgery, the skin needs time to adapt to the new nose shape. Taping helps the skin stay close to the cartilage and bone, reducing the risk of gaps or excess scar tissue, and promoting smooth, natural results.
- Ensure aesthetic results: Proper taping helps maintain the desired nose shape, especially a straight bridge and refined tip, while preventing the nose from shifting or losing its form.
- You will feel more reassured: Proper nose taping gives you peace of mind and helps you feel more confident during the post-surgery care process, especially if you are a foreigner coming to Vietnam for Rhinoplasty.
Normally, doctors recommend taping the nose during the first 1–2 weeks after surgery, depending on each patient’s condition. Following the correct taping technique helps optimize results and shorten the recovery time.
How to tape nose after Rhinoplasty: Step-by-step
Knowing how to tape your nose after Rhinoplasty is a key factor to ensure beautiful results and smooth recovery. For foreigners seeking cosmetic surgery in Vietnam, understanding the taping steps will help you feel confident in at-home care. Below is a detailed step-by-step guide—let’s take a look!
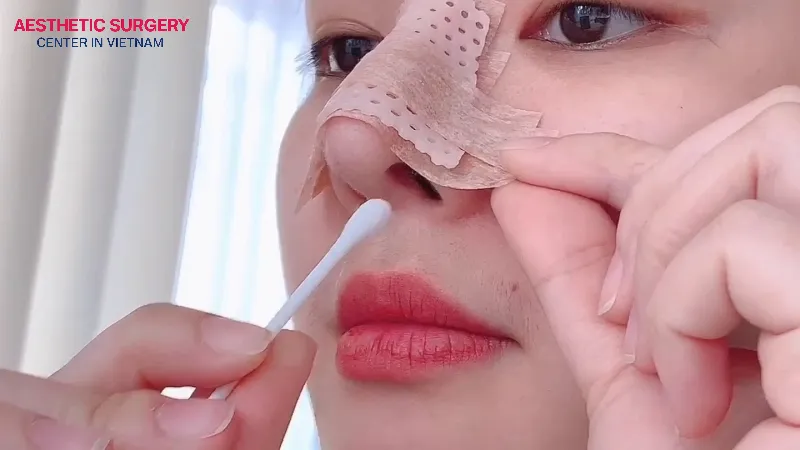
Step 1: Start with clean, dry skin
Before taping the nose, make sure your skin is completely clean and dry so the tape adheres well and does not cause irritation. Gently wash your face, then pat the nose area dry with a soft, clean towel, avoiding harsh rubbing that could damage the skin.
If your doctor prescribes an ointment, apply a thin layer before taping. Keeping the skin dry helps the tape stick better and reduces the risk of slipping or peeling. Avoid using moisturizers or oil-based products on the nose area before taping, as they can weaken the tape’s adhesion.

Step 2: Cut four pieces of tape
Use medical-grade tape and cut it into four strips about 5–7 cm long and 1–1.5 cm wide, depending on the size of your nose. Make sure your scissors and hands are clean to prevent infection. Each strip should be cut evenly and neatly, with smooth edges for easier application.
If your doctor recommends a specific type of tape, follow their instructions. Preparing the tape in advance makes the taping process smoother and avoids interruptions or discomfort.
In addition, a useful tip for you is to place the strips on a clean surface for easy use right after.
Step 3: Begin taping from the top of the bridge
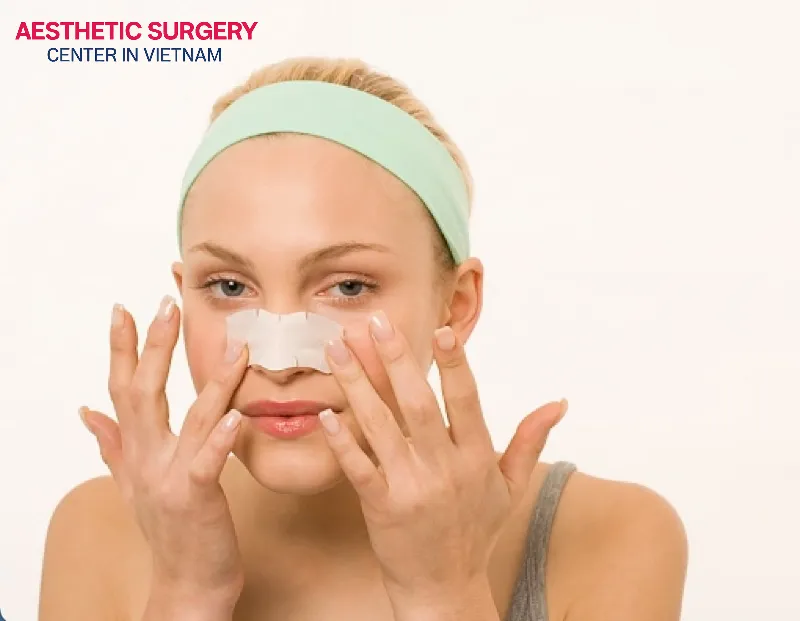
Start by placing the first strip at the top of the nasal bridge, just below the area between the eyebrows. Apply the tape horizontally, pressing it gently against the skin to secure the upper part of the nose. Make sure the tape fits snugly but not too tight, to avoid excessive pressure on the surgical area. This strip helps stabilize the nose structure and control swelling at the highest point.
Gently smooth the tape with your fingers so it adheres evenly, without folds or air bubbles. If it feels uncomfortable or the skin is stretched too much, adjust the pressure. Remember, this step is especially important for maintaining the new shape of the nose.
Step 4: Work your way down the bridge
Continue with the remaining strips, applying them one by one from the top of the nasal bridge down to the tip of the nose vertically, spacing each strip about 0.5 cm apart. The strips should slightly overlap to create even pressure, helping reduce swelling and keeping the skin closely adhered to the cartilage.
Apply the tape gently, smoothing from the center outward to avoid folds. Pay special attention to the tip of the nose, ensuring the tape fits snugly but does not block the airway. After finishing, check that the tape is secure and comfortable. Replace the tape every 24–48 hours or as directed by your doctor.
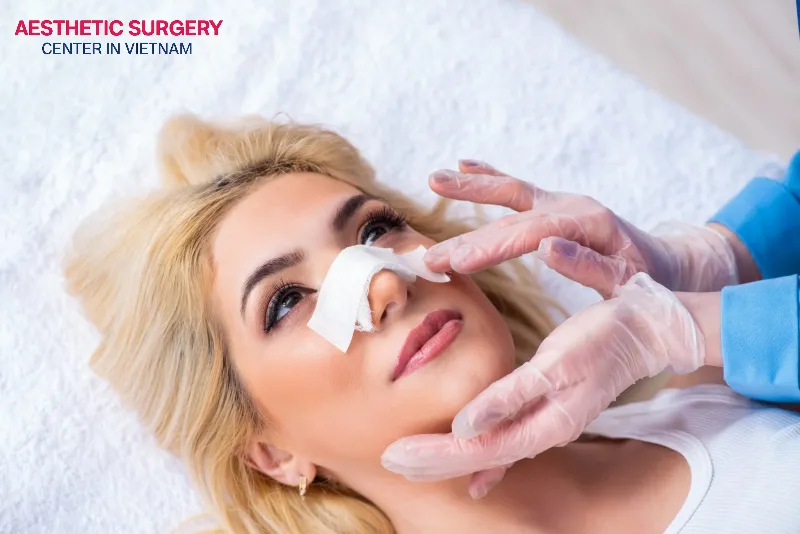
When should you tape?
Nose taping usually starts right after removing the splint, typically 5–7 days after surgery, depending on the doctor’s instructions.
During this stage, the nose is still swollen and the structure is not fully stable, so taping helps control edema and maintain the nose shape. Typically, you need to tape continuously for the first 1–2 weeks, especially at night, when swelling can increase due to lying down.
After 2 weeks, if approved by your doctor, you may tape the nose only at night for an additional 1–2 weeks to help the skin adhere to the cartilage. The exact duration for taping and changing the tape will depend on your individual case. You should strictly follow your doctor’s instructions to achieve a natural, refined nose while minimizing complications.
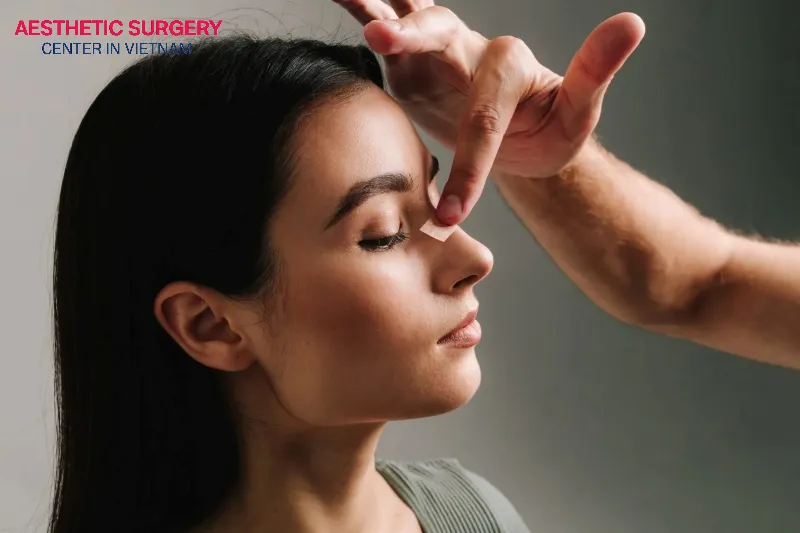
Tips for taping like a pro
To tape your nose after Rhinoplasty like a professional, here are some helpful tips:
- Choose the right tape: Use medical-grade tape such as 3M Micropore or paper tape, as they are lightweight, breathable, and less likely to irritate the skin.
- Keep hands and tools clean: Wash your hands thoroughly with antibacterial soap and dry them before touching the tape or nose area. Use clean scissors to cut the tape to avoid infection.
- Apply tape with moderate pressure: Proper pressure ensures the tape sticks well, helps the skin adhere to cartilage and bone, and creates a more natural nose shape. Avoid taping too tightly or too loosely, which can cause discomfort.
- Replace tape regularly and properly: Change the tape every 24–48 hours or as directed by your doctor to maintain hygiene and effectiveness. Remove the tape gently to avoid damaging the skin.
- Monitor skin reactions: Sensitive skin may react to tape. Watch for redness, itching, or discomfort, and inform your doctor immediately if any issues occur.
Common mistakes to avoid
Taping the nose after Rhinoplasty requires careful attention to ensure proper healing and achieve the desired aesthetic results. Here are common mistakes to avoid:
- Using the wrong tape: Non-medical tape can irritate the sensitive skin after surgery or fail to provide enough pressure to reduce swelling.
- Not cleaning the skin before taping: Applying tape on dirty, oily, or damp skin can cause it to peel off early, reducing effectiveness and increasing the risk of infection.
- Taping too tightly or too loosely: Taping too tightly can cause pain, restrict blood flow, or even displace the new nasal structure. Conversely, taping too loosely won’t provide enough pressure to control swelling or stabilize the cartilage, leading to unsatisfactory results.
- Skipping or irregular taping: Some people stop taping after a few days because it feels inconvenient or unnecessary, which can lead to prolonged swelling or deformation of the nose. Nose taping should be maintained continuously during the first 1–2 weeks, especially at night, as directed by your doctor.
- Ignoring or not monitoring abnormal signs: Ignoring skin reactions such as redness, itching, or pain while taping can result in skin damage or infection.

Following the correct technique regarding how to tape nose after Rhinoplasty is essential for achieving a natural-looking nose and a faster recovery. In addition, for a high, elegant nose with quality results at an affordable rhinoplasty cost, Vietnam is an ideal destination for foreign visitors. Make sure to choose reputable clinics to achieve the appearance you desire!


 >
>
Comment on the post